Replacing Windows: Why It Matters for Your Home
Replacing old windows can help make your home more comfortable, quieter, and energy efficient. Many people ask how to replace a window from the inside, especially when outdoor access is hard. Replacing from the inside means you don’t have to climb ladders or remove siding. It’s also safer when weather conditions aren’t ideal. Whether your goal is better insulation, fixing a broken sash, or updating your style, knowing how and when to replace windows matters. New windows can also help save money on heating and cooling, giving you long-term value and a fresh look for your home.
Understanding Window Structures Before Starting
Before you begin any window replacement, it’s important to know the basic parts of a window. The main parts include the frame, sash, glass, jamb, sill, and stops. The frame is the outer structure that holds everything together. The sash is the part that moves up and down or side to side. The jambs are the side pieces of the frame, while the sill is the bottom. Stops keep the sash in place. Understanding these parts helps you know what needs to be removed, measured, and replaced. This makes your job easier and helps prevent damage during the process.
Tools and Materials You’ll Need for the Job
To replace a window from the inside, you’ll need a few basic tools and materials. These include a utility knife, tape measure, pry bar, screwdriver, caulk gun, level, shims, fiberglass insulation, and safety glasses. You might also need wood putty, weatherstripping, and a hammer. Vinyl replacement windows often come with detailed instructions, but having the right tools on hand will help you follow them step by step. Before you start, gather everything in one place. This saves time and makes the project smoother. Always wear gloves and goggles to keep your hands and eyes safe during work.
How to Replace a Window from the Inside: Step-by-Step
Replacing a window from the inside starts with removing the old one. First, use a utility knife to cut any caulk or paint sealing the interior trim. Carefully pry off the trim using a putty knife or pry bar. Next, unlock and remove the lower sash, followed by the upper sash. You may need to remove stops holding the sashes in place. After removing the old sashes, clean the window opening. Place the new window into the opening and use shims to level it. Screw the new window in place, then check that it opens and closes properly. Finally, seal all edges with caulk and replace the trim.
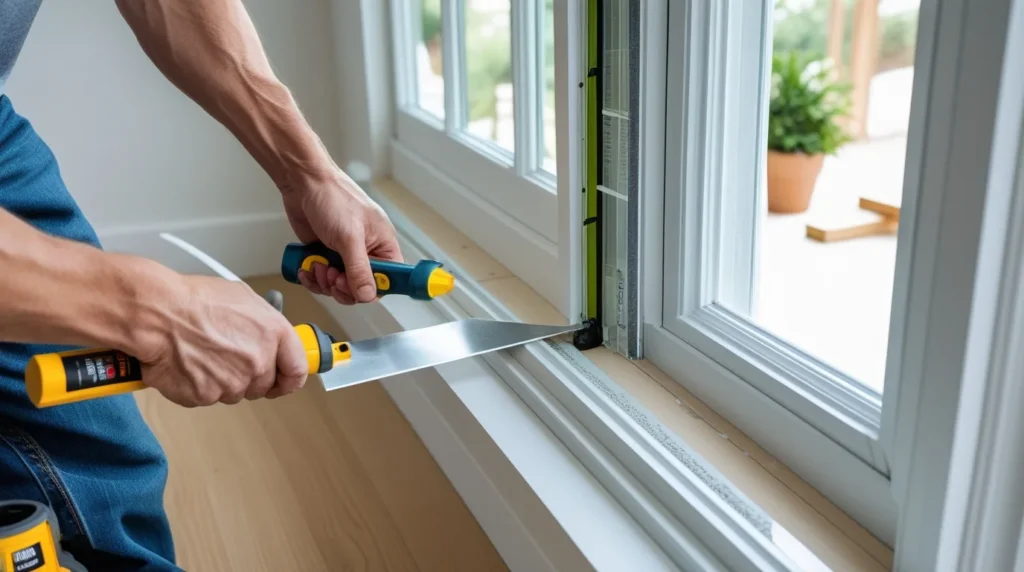
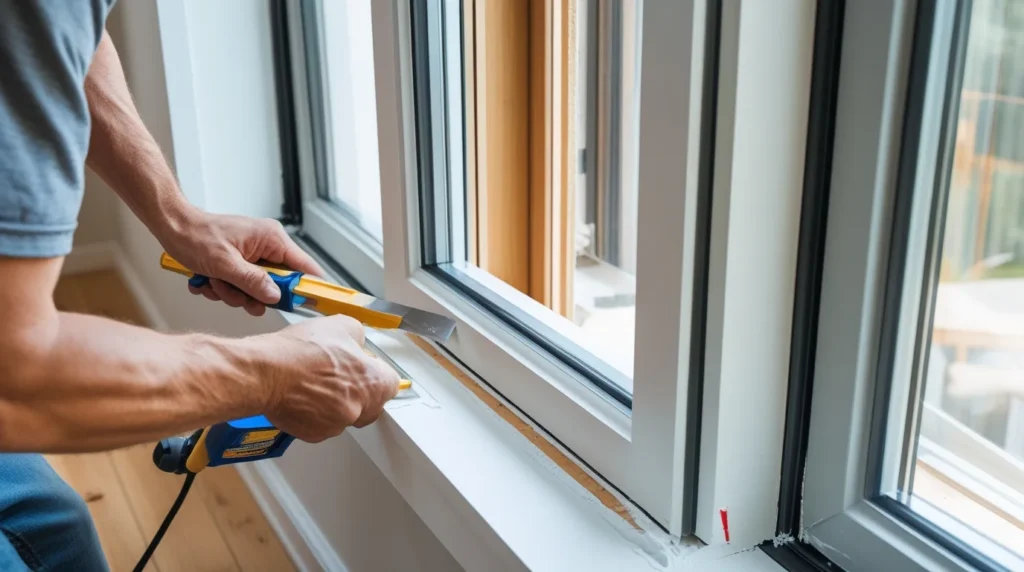
Removing the Interior Trim and Sashes Safely
Start by scoring the edges of the trim with a utility knife to prevent paint from cracking. Use a flat tool like a putty knife or pry bar to loosen the trim. Pull gently to avoid damaging the wall or the surrounding frame. After removing the trim, take out the stops holding the sash. Slide out the lower sash first, then the upper sash. If the window has weights or jamb liners, remove them carefully. Keep your tools handy and move slowly. This step is about care, not speed. Damaged trim can be fixed with wood filler or replaced if needed.
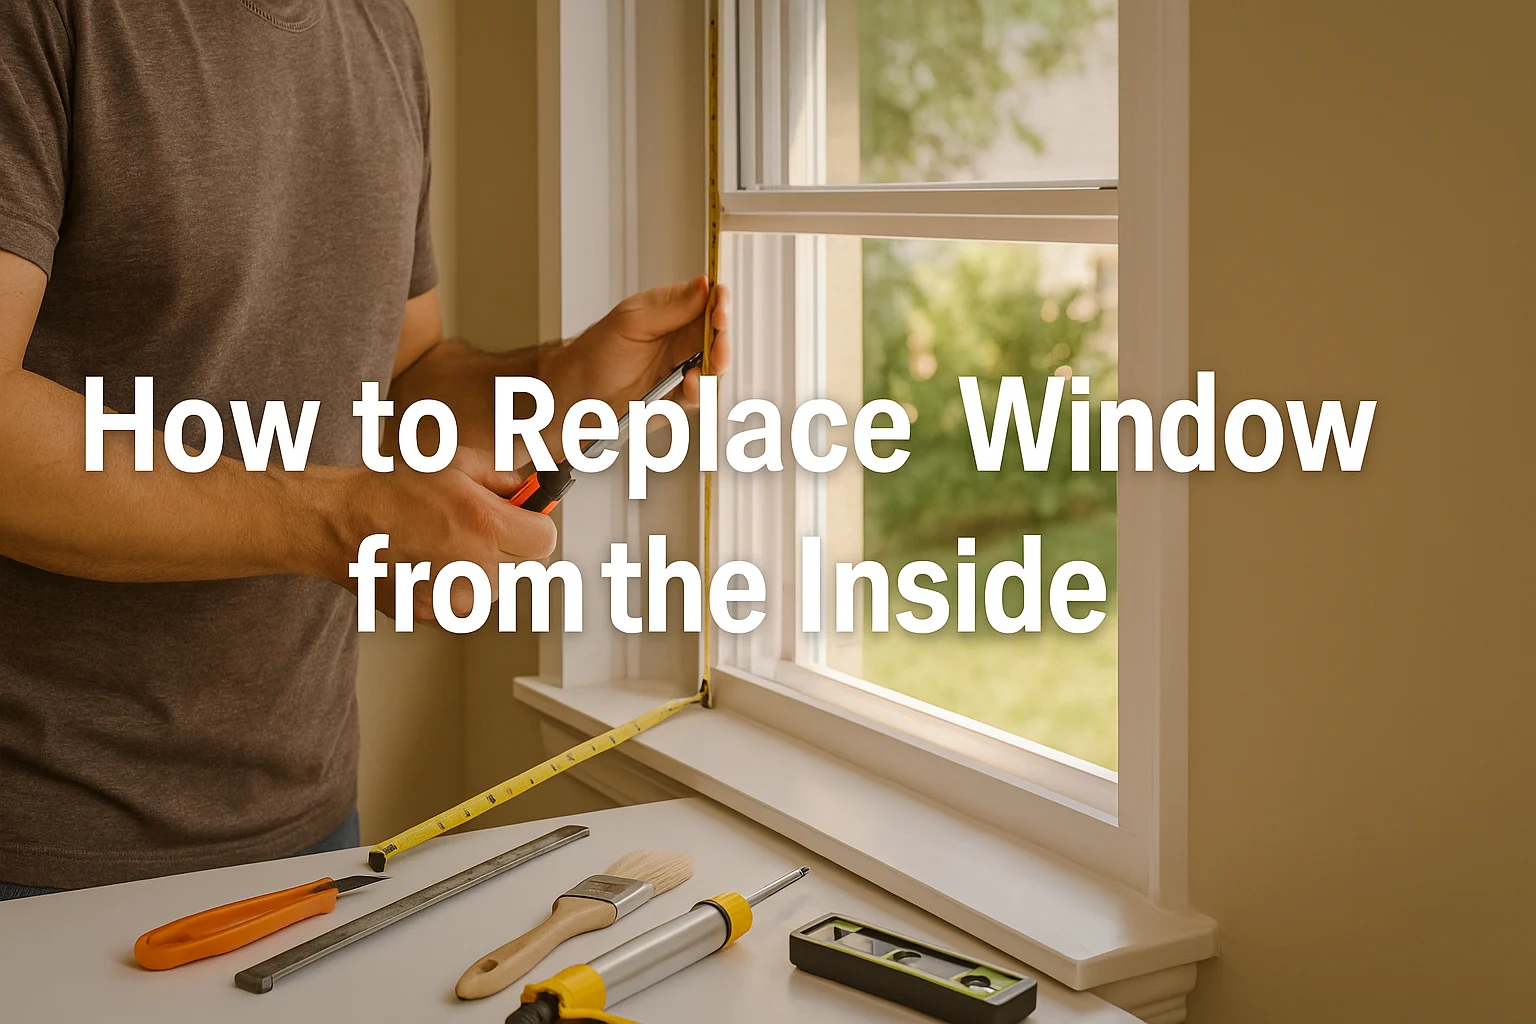
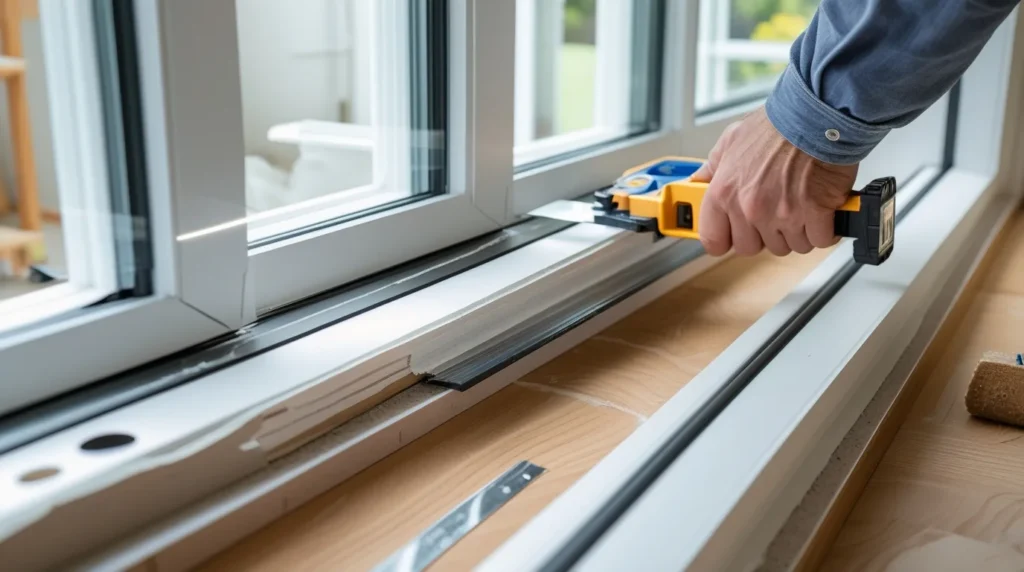
Measuring the Opening for a Perfect Fit
To make sure your new window fits well, you need accurate measurements. Use a tape measure to find the width at the top, middle, and bottom of the opening. Do the same for the height on the left, center, and right sides. Always use the smallest number you get. This helps ensure the window will slide in without force. Also, measure the depth of the window jamb. A proper fit prevents air leaks and makes insulation easier. Good measurements are key to avoiding problems later. If you’re unsure, measure twice before ordering your replacement window.
Installing the New Window in the Existing Frame
Now that your opening is clean and measured, place the new window into the frame. Start by dry-fitting it to make sure it fits well. Then use shims on all sides to make it level and plumb. Check that the window opens and closes smoothly before securing it. Use screws through the jambs, but do not overtighten. Add a sill adapter if needed for a snug fit. Recheck all sides with a level. Once the window is secure, fill any gaps with fiberglass insulation. Don’t forget to leave space for expansion and seal the edges properly for a clean finish.
Sealing and Insulating for Energy Efficiency
Sealing the window properly is important for keeping your home warm in the winter and cool in the summer. Use a caulk gun to apply a steady bead of caulk around the edges of the window inside. Fill wider gaps with spray foam insulation, but avoid overfilling. Seal between the frame and the wall, and around the window sill. Add weatherstripping if needed. This step helps block drafts, moisture, and dust. A well-insulated window keeps energy bills low and makes your space more comfortable all year long. Don’t skip this, it’s one of the most important parts of the job.
Finishing Touches: Reattaching Trim and Painting
After the window is sealed and insulated, it’s time for the finishing touches. Reinstall the interior trim by gently pressing or nailing it back into place. If any trim was damaged, use wood putty to fill holes or cracks. Let it dry and sand smooth. Then, repaint the trim to match the room. A smooth coat of paint hides small mistakes and gives the window a polished look. You can also add a layer of primer first if needed. These finishing steps help your project look neat and complete, like a professional installation.
Common Mistakes Homeowners Make During Window Replacement
When replacing a window, small mistakes can lead to big problems later. One of the most common issues is incorrect measurements. If your measurements are even a little off, the new window won’t fit right. This can cause drafts, poor sealing, and higher energy bills.
Another big mistake is skipping insulation. Leaving gaps around the window frame lets air and moisture inside, which makes your home less comfortable and can damage walls over time.
Some people also try to reuse old or damaged trim to save money. But broken or bent trim won’t hold up well, and it makes the window look unfinished.
To avoid these problems:
- Measure carefully twice is better than once.
- Use the right insulation, like spray foam or fiberglass.
- Replace damaged trim or use wood filler and paint to fix it.
Taking your time and doing each step right makes a big difference.
Window Replacement Tips from Austin Window Pros (Austin, TX)
Replacing a window can be a DIY project if you follow the steps and use the right tools. Here are a few expert tips from the team at Austin Window Pros:
- Always check the level of your window with a tool before sealing it. A crooked window will cause problems later.
- Use a caulk gun slowly and carefully so the seal is even and smooth.
- Don’t over-tighten screws, or you might warp the frame and cause air leaks.
- Label trim pieces when removing them, so you know where each one goes later.
If you feel unsure at any point, it’s okay to ask for help. Our team at Austin Window Pros has helped many homeowners in Austin with safe, clean, and energy-efficient window installations. We use top tools and offer services that save time, money, and hassle.